The question comes up mid-bake, almost every time: a recipe calls for sour milk, and all you have is the regular carton sitting in your fridge. Before you consider skipping the step or running to the store, know this — making sour milk for a recipe takes under ten minutes and requires nothing beyond what’s already in your kitchen. Two ingredients. One measuring cup. Done.
That said, sour milk is one of those ingredients that gets glossed over without much explanation. Most recipes just say “use sour milk” without telling you what it actually does or why the method matters. This guide covers the how, the why, the science behind it, the nutrition context, and the common mistakes that quietly ruin batches of biscuits and cakes.
What Sour Milk Actually Is — And What It Isn’t
Before anything else: sour milk in a recipe is not spoiled milk. That distinction matters, and it trips people up more often than it should.
Intentionally soured milk is fresh milk combined with a food-grade acid — typically white vinegar or lemon juice — which causes the milk proteins (casein) to slightly coagulate and the pH to drop. The result is a mildly tangy, lightly thickened liquid that’s perfectly safe and functionally valuable in baking. This is what nearly every baking recipe calling for “sour milk” actually means.
Spoiled or rancid milk is a completely different situation. Pasteurized milk that has been sitting too long doesn’t ferment cleanly — it putrefies, producing unpleasant compounds alongside potentially harmful bacteria. It smells distinctly foul (not just tangy), may show visible separation or mold, and should go straight down the drain. No recipe benefits from it.
There’s a third category worth knowing: naturally clabbered raw milk. Unpasteurized milk left at room temperature will sour through the action of naturally present lactobacillus bacteria, producing a thickened, fermented product that genuinely resembles old-world cultured dairy. Traditional soda bread recipes, Amish baking, and certain regional breads historically called for exactly this. However, the quick-acid method described below replicates its baking function reliably without the food safety complexity of raw milk handling.
The Science Behind Why Sour Milk Matters in Baking
This is the section most recipe sites skip, but understanding it makes you a significantly better baker.
When a recipe pairs sour milk with baking soda (sodium bicarbonate), a chemical reaction takes place. The acid in the sour milk reacts with the alkaline baking soda to release carbon dioxide gas. These CO₂ bubbles get trapped in the batter and expand under oven heat, producing a lighter, airier crumb. Without an acid present, baking soda can’t fully activate — any unreacted soda lingers and gives finished baked goods a faint soapy or metallic aftertaste.
This is why sour milk and baking soda show up together in so many classic recipes — pancakes, soda bread, spice cakes, biscuits, cornbread, quick breads. The pairing is a complete leavening system: acid plus base equals lift.
Beyond leavening, the acidity also tenderizes gluten. Gluten is the protein network that forms when flour mixes with liquid; it gives bread its chew and structure. In cakes, muffins, and pancakes, however, heavy gluten development makes the texture tough and dense. The lactic acid environment created by sour milk partially breaks down those gluten strands, yielding a softer, more delicate crumb. This effect is measurable — it’s the same principle that makes buttermilk pancakes markedly more tender than those made with plain milk.
One more layer: the acid interacts with milk proteins themselves. Casein, the primary protein in milk, begins to partially denature in acidic conditions. This slight thickening and curd formation improves the way the milk blends into a batter, contributing to moisture retention throughout baking. Cakes made with acidified milk tend to stay softer longer than those made with plain milk.
Interestingly, the John Dwight and James Church baking soda brand launched in the 1840s used a cow in its early trademark — because sour milk was the standard acid trigger for baking soda before baking powder became widely available. The chemistry hasn’t changed. Modern quick-bread baking is still built on the same acid-base principle that 19th-century home bakers used daily.
How Do I Make Sour Milk for a Recipe — Three Methods
Method 1 — White Vinegar (Most Reliable, Most Neutral)
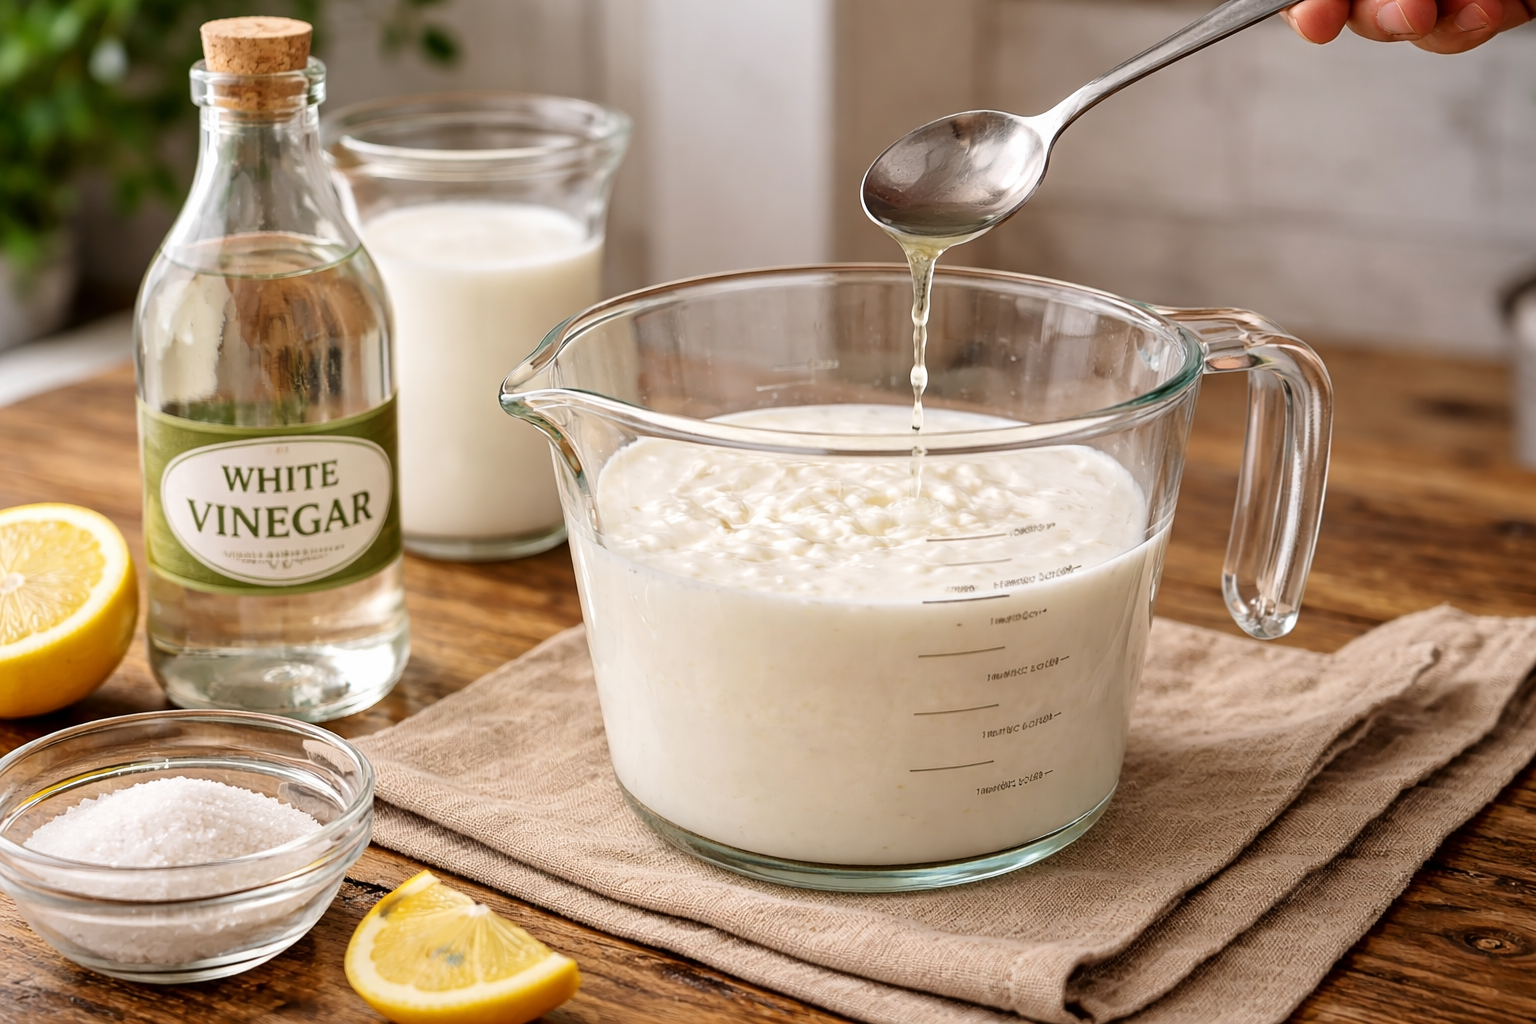
This is the go-to method for most baking applications. White vinegar adds acidity without flavor contribution, making it the right choice when the recipe itself is responsible for all the taste — chocolate cakes, savory biscuits, cornbread, spice loaves.
Ratio:
- 1 cup sour milk = 1 tablespoon white vinegar + whole milk to fill the 1-cup line
- ½ cup sour milk = 1½ teaspoons white vinegar + whole milk to the ½-cup mark
- ¼ cup sour milk = ¾ teaspoon white vinegar + milk to the ¼-cup line
Steps:
- Measure the vinegar into a liquid measuring cup first.
- Pour in whole milk until the total volume reaches your required amount. Do not overfill — the ratio matters.
- Stir briefly and let it sit undisturbed at room temperature for 5–10 minutes.
- The milk will look slightly curdled at the edges — this is correct. Use immediately.
Do not refrigerate and wait. Cold temperatures slow the acid-protein interaction considerably. If you want to prepare it slightly ahead, room temperature is fine for 15–20 minutes. Beyond that, use it or discard it.
Method 2 — Fresh Lemon Juice (Best for Sweet, Citrus-Forward Baking)
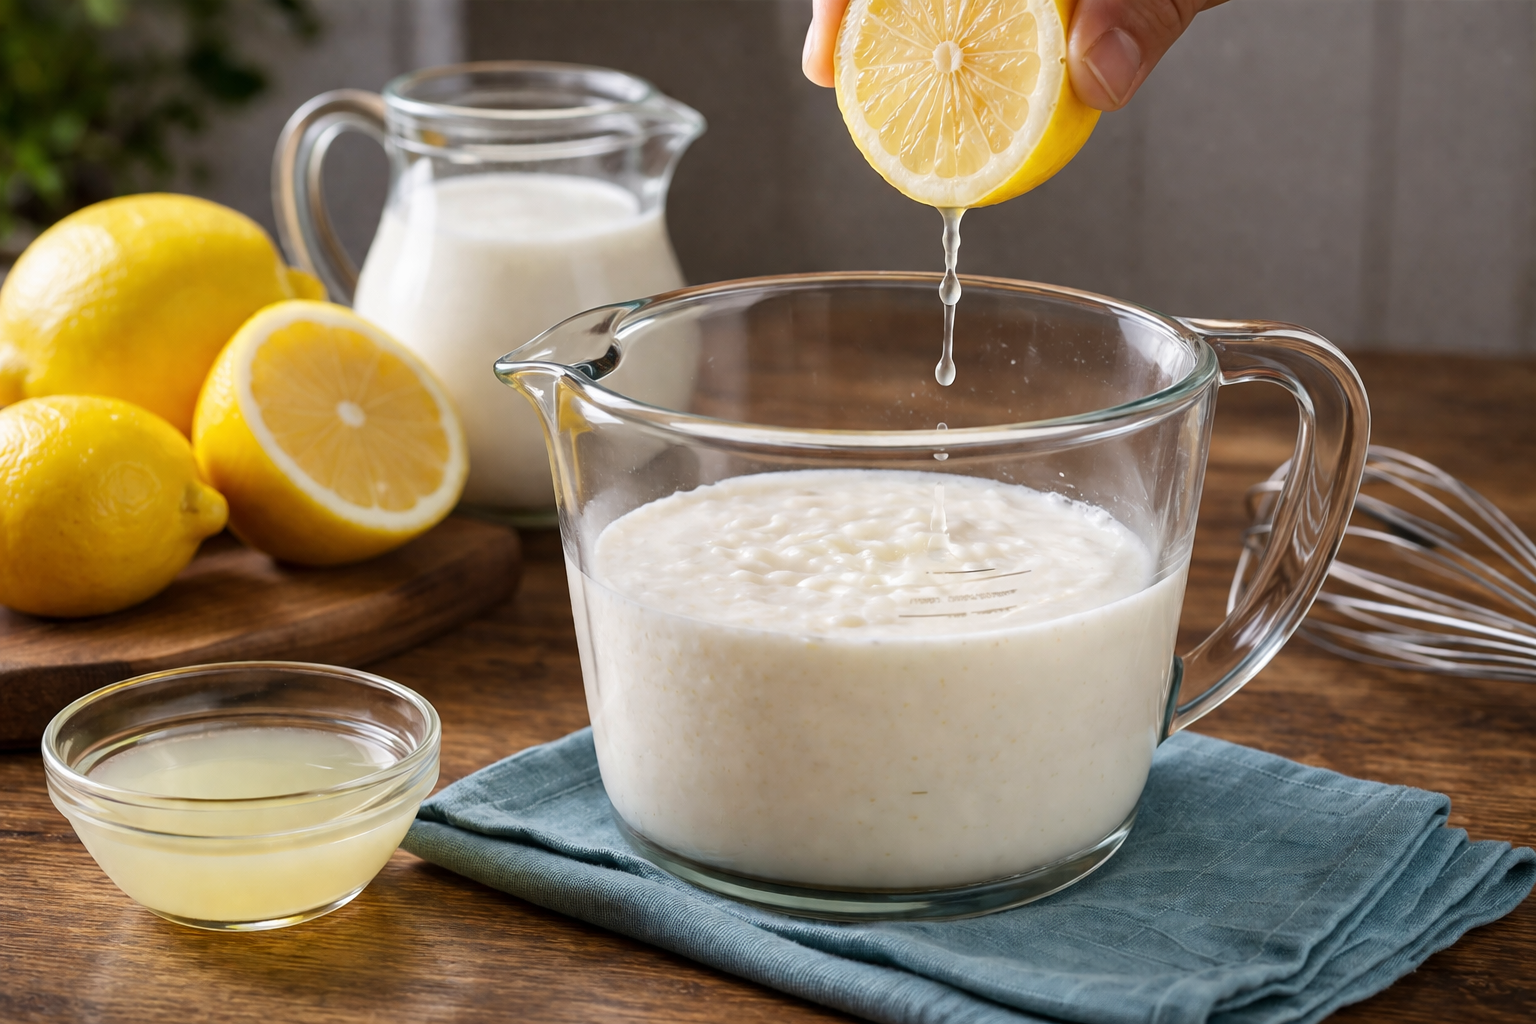
Lemon juice works through the same acid mechanism as vinegar, but it carries its own flavor. In recipes where citrus notes are welcome — blueberry muffins, lemon pound cake, vanilla pancakes, fruit scones — lemon-soured milk adds a subtle brightness that vinegar doesn’t.
Ratio:
- 1 cup sour milk = 1 tablespoon fresh lemon juice + whole milk to the 1-cup mark
Everything else follows the same process: add acid first, fill to the required volume with milk, stir, and rest 5–10 minutes at room temperature.
One note on lemons: bottled lemon juice works, but fresh-squeezed gives a cleaner acid without the slight preservative taste that sometimes comes through in concentrated bottled versions. For high-acid recipes where the volume is small (¼ cup sour milk), the difference is negligible. For larger volumes, fresh is worth the extra thirty seconds.
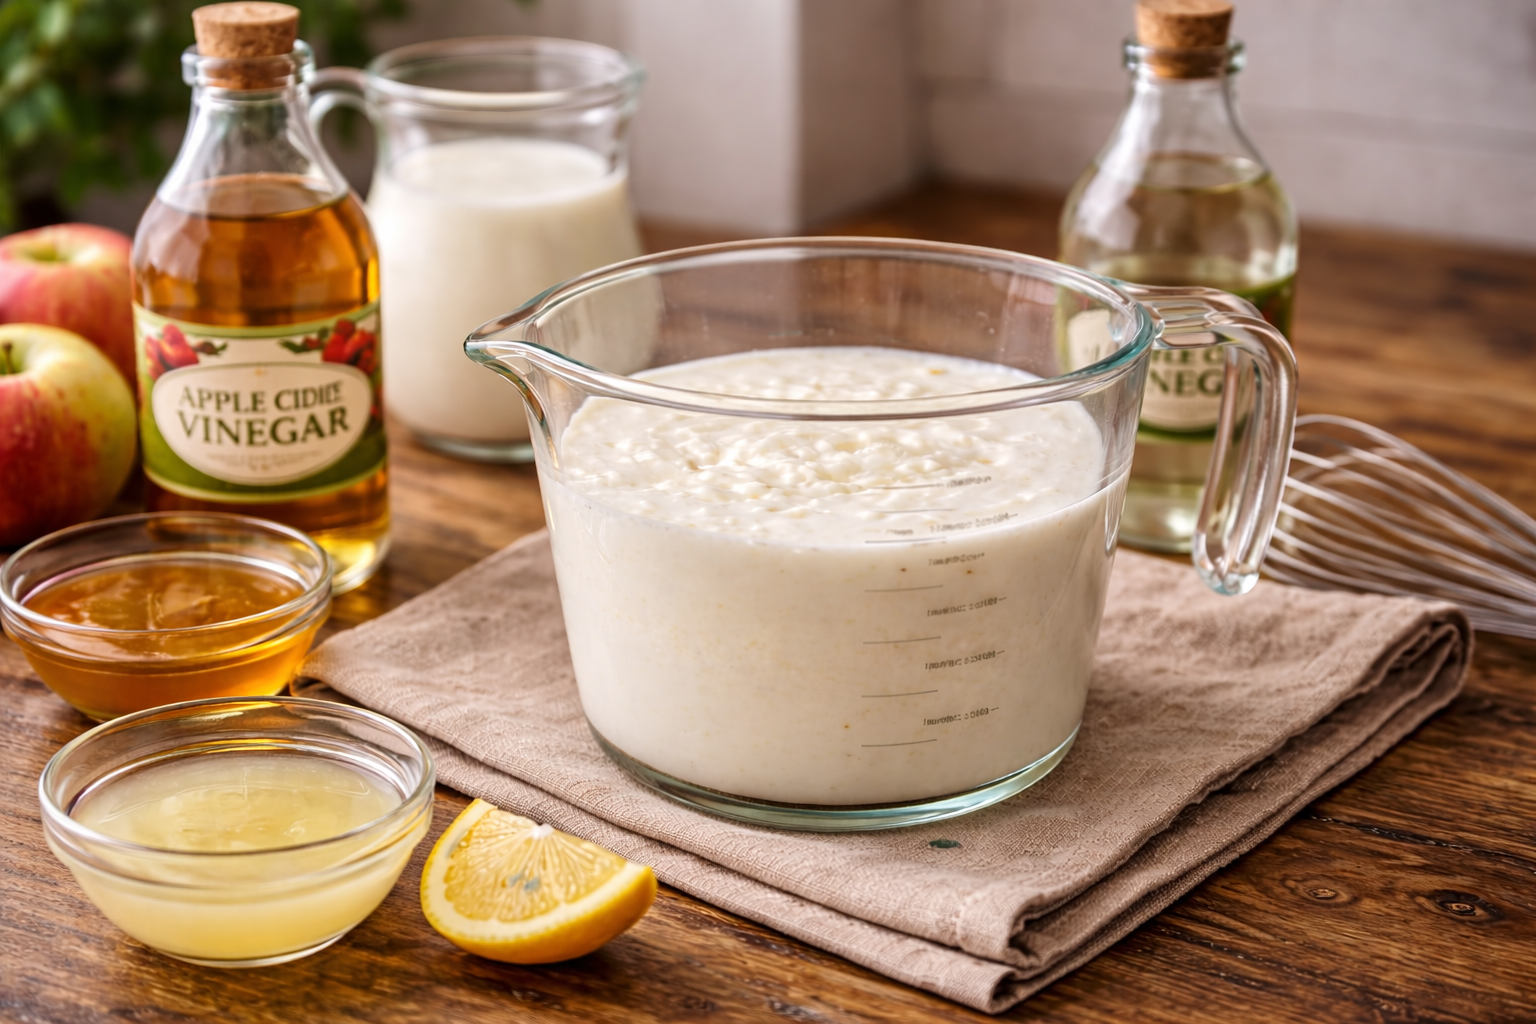
Method 3 — Apple Cider Vinegar (For Rustic or Whole-Grain Recipes)
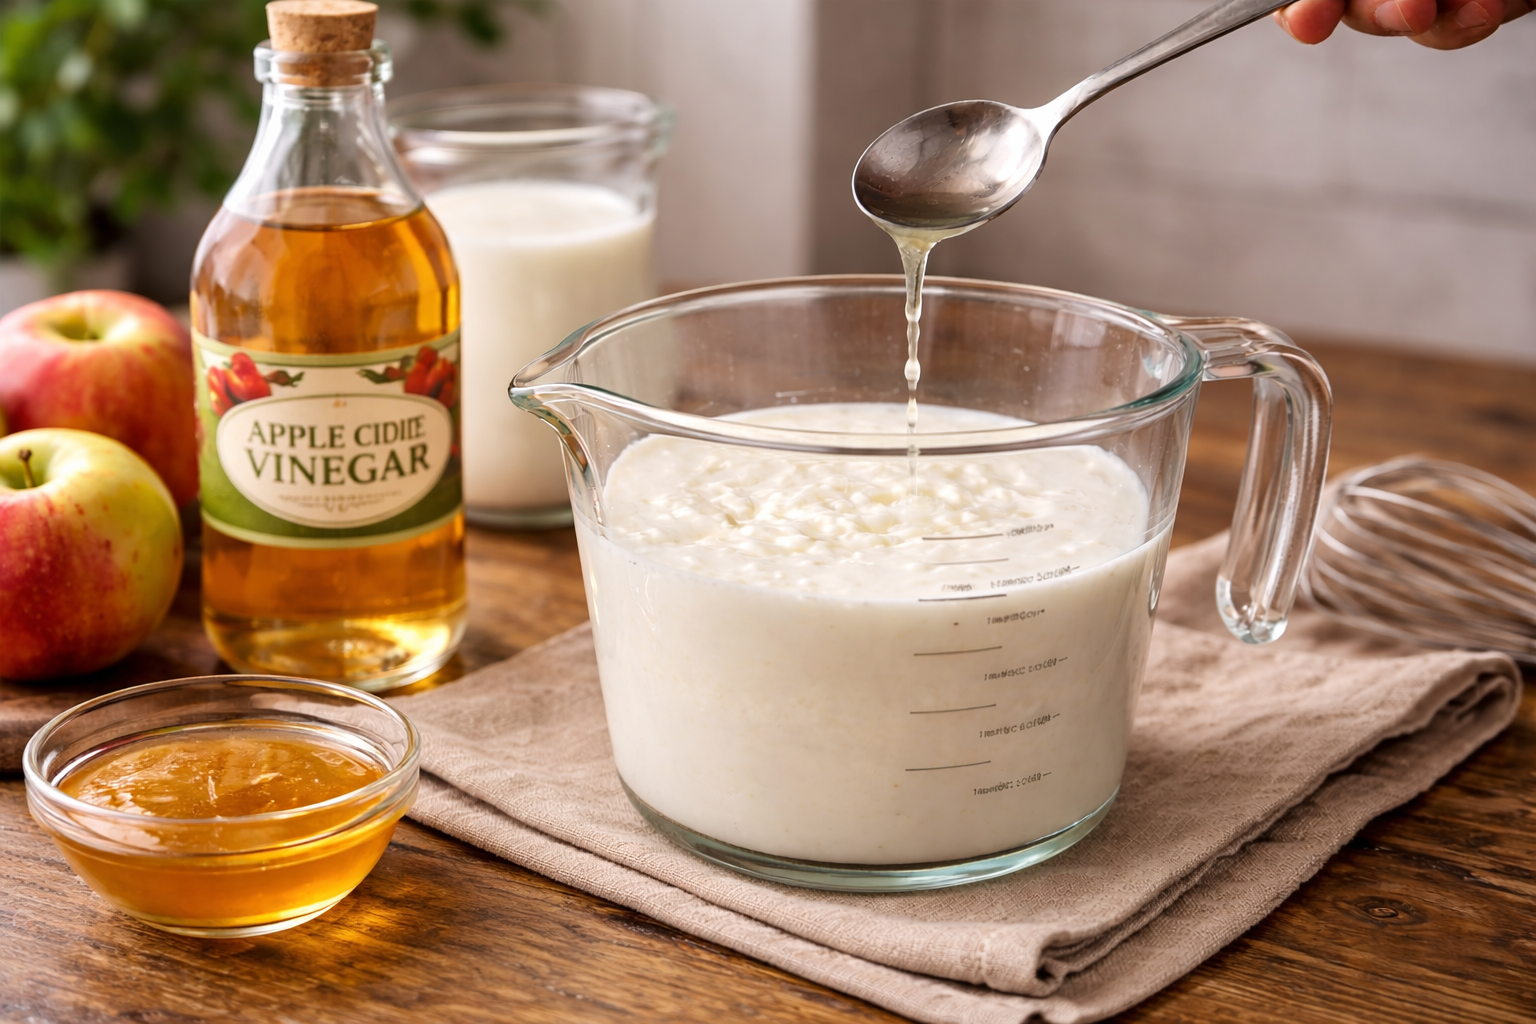
Apple cider vinegar (ACV) has a slightly fruitier, more complex acidity than white vinegar. It works well in hearty baked goods — whole wheat breads, oat-based muffins, banana bread, spice cakes — where its mild flavor profile blends into the background rather than competing.
Ratio:
Same as white vinegar — 1 tablespoon per 1 cup of milk.
ACV is not recommended for delicate recipes like white cakes or vanilla cream scones, where even a hint of extra flavor can shift the intended profile.
Milk Fat Content — Does It Matter Which Milk You Use?
Yes, and this is a point that gets glossed over in most quick guides.
Whole milk is the standard for making sour milk in baking. Its fat content (roughly 3.5%) closely mirrors the fat profile of commercial buttermilk, and the higher fat concentration supports a richer, more tender crumb in the finished product. For any recipe that calls for sour milk where texture quality matters — layered biscuits, fluffy pancakes, moist chocolate cake — whole milk is the correct choice.
2% milk works acceptably and is what most households have on hand. The end result may be very slightly less tender and rich, but in most everyday recipes the difference isn’t dramatic.
Skim or fat-free milk sours reliably through the acid method, but the lower fat content means less richness in the finished product. For muffins, quick breads, and pancakes it’s usable. For anything where the fat in the milk contributes to structure and moisture — a rich cake or flaky biscuit — the quality difference shows.
Non-dairy milks: Oat milk, almond milk, and soy milk can all be acidified using the same vinegar or lemon juice ratios. The souring reaction looks different — non-dairy milks don’t curdle the way cow’s milk does — but the pH drop still occurs, and the acid still activates baking soda. Soy milk produces the most buttermilk-like behavior among non-dairy options because its protein content is closest to cow’s milk. Oat milk tends to thin rather than thicken, but it still functions in the recipe. For fully vegan baking, soy milk plus white vinegar is the most reliable combination.
Sour Milk vs. Buttermilk — Clearing Up the Confusion
These two are often used interchangeably in recipes, and mostly that works — but they’re not identical.
Commercial buttermilk today is cultured dairy: pasteurized low-fat milk with added lactic acid bacteria, fermented until tangy and slightly thickened. It has a consistent, reliable acidity (pH approximately 4.5) and a creamier texture than quick-soured milk.
Homemade sour milk made with vinegar or lemon juice is thinner, slightly less creamy, and has a sharper initial acidity that moderates as it sits. In a recipe, both function the same way — providing acid for leavening and gluten tenderizing — but commercially cultured buttermilk has a more developed, rounded flavor.
In practical terms: for pancakes, muffins, biscuits, quick breads, and most cakes, homemade sour milk and buttermilk are direct 1:1 substitutes with minimal noticeable difference in the finished product. For recipes where buttermilk is the dominant flavor note — certain salad dressings, cold marinades, or a buttermilk pie filling — store-bought cultured buttermilk is worth seeking out.
The reverse substitution also holds: if a recipe calls for sour milk and you have buttermilk in the fridge, use it at the same volume. No adjustments needed.
Sour Milk Nutrition — What You’re Actually Adding to Your Recipe
Since sour milk is used as an ingredient in baked goods, its nutritional contribution per recipe is modest but worth understanding, especially for those tracking dietary intake.
Per 1 cup (240ml) of whole milk used to make sour milk (USDA data):
Nutrient |
Amount |
| Calories | ~149 kcal |
| Protein | 8g |
| Total Fat | 8g |
| Saturated Fat | 4.6g |
| Carbohydrates | 11–12g |
| Calcium | ~276mg (27% DV) |
| Vitamin B12 | ~1.1mcg (~46% DV) |
| Phosphorus | ~205mg (29% DV) |
| Potassium | ~349mg (10% DV) |
| Sodium | ~93mg (4% DV) |
Adding acid does not meaningfully alter the macro profile of the milk. The curdling is a physical change in protein structure, not a loss of nutrients. The acid itself (a tablespoon of vinegar or lemon juice) contributes negligible calories.
What this means in baking context: A cup of sour milk spread across a batch of 12 muffins contributes roughly 12 calories, 0.67g protein, and a small amount of calcium per muffin from the milk alone. It’s a minor nutritional player in the overall recipe, but it’s also contributing structure, moisture, and leavening that directly improve the quality and palatability of the food — which indirectly supports the nutritional value of what you eat by making whole-grain or reduced-sugar baked goods more enjoyable and likely to be eaten.
A note on lactose and digestion: The acid used to make sour milk does not significantly break down lactose. People with lactose sensitivity may still react to sour milk in baking the same way they would react to regular milk. Lactic acid bacteria in genuinely fermented dairy (kefir, cultured buttermilk, aged cheese) do meaningfully pre-digest lactose — but quick-acid sour milk skips that fermentation step entirely.
Quantities at a Glance — Sour Milk Conversion Table
Recipes rarely call for exactly 1 cup. Here’s the complete conversion table so you can scale without recalculating each time:
Amount of Sour Milk Needed |
Acid to Add |
Milk to Add |
| ¼ cup (60ml) | ¾ tsp vinegar or lemon juice | Fill to ¼ cup line |
| ⅓ cup (80ml) | 1 tsp vinegar or lemon juice | Fill to ⅓ cup line |
| ½ cup (120ml) | 1½ tsp vinegar or lemon juice | Fill to ½ cup line |
| ¾ cup (180ml) | 2¼ tsp vinegar or lemon juice | Fill to ¾ cup line |
| 1 cup (240ml) | 1 tbsp vinegar or lemon juice | Fill to 1 cup line |
| 1½ cups (360ml) | 1 tbsp + 1½ tsp | Fill to 1½ cup line |
| 2 cups (480ml) | 2 tbsp vinegar or lemon juice | Fill to 2 cup line |
Always add the acid to the measuring cup first, then add milk to reach the target volume. Adding milk first and then acid on top tends to produce inconsistent mixing and uneven curdling.
Common Mistakes That Affect Results
Using cold milk straight from the fridge. Cold temperatures slow the acid-protein interaction significantly. The milk technically does sour, but more slowly and less completely. Either let the milk sit on the counter for 10 minutes before starting, or use milk that’s been briefly warmed to room temperature. For most recipes this makes a small but real difference in how evenly the batter behaves.
Not waiting the full 5–10 minutes. Stirring the acid and milk together and immediately pouring it into the batter skips the resting period where curdling and pH stabilization actually happen. Two minutes is not enough. Five minutes minimum, ten for more complete results.
Adding salt to the milk separately. Some bakers instinctively add a pinch of salt while making sour milk. Unnecessary — the recipe will incorporate salt through its own measured amounts. Adding it during souring can slightly affect the protein curdling pattern.
Storing leftover sour milk. Homemade sour milk is not a shelf-stable product. It’s designed for immediate use. If you made too much, refrigerate it in a sealed container and use within 24 hours — and only in a cooked or baked application, not consumed directly. Don’t freeze it; the texture becomes grainy on thawing and while it’s usable in baked goods, it behaves inconsistently.
Using balsamic or red wine vinegar. Both work chemically, but both carry strong flavor compounds that show up in the finished product. Stick to white vinegar, lemon juice, or apple cider vinegar depending on your recipe’s flavor profile.
What to Bake With Sour Milk — Best Recipe Applications
Sour milk is most effective in recipes where baking soda is the primary leavener and tenderness is the goal:
- Pancakes and waffles — the CO₂ reaction is immediate; batter goes straight from bowl to pan
- Soda bread — entirely dependent on the acid-baking soda interaction for rise; no yeast involved
- Buttermilk biscuits — gluten tenderizing produces the flaky, layered interior that plain-milk biscuits can’t match
- Chocolate cake and spice cake — acidity intensifies cocoa flavor and deepens spice notes
- Muffins and quick breads — moisture retention keeps them soft for days longer than versions made with plain milk
- Cornbread — sour milk balances cornmeal’s natural dryness and activates baking soda cleanly
- Fried chicken marinade — the acid gently tenderizes the protein surface before frying, improving texture and helping the coating adhere
Conclusion — A Two-Minute Technique Worth Knowing for Life
The answer to “how do I make sour milk for a recipe” is genuinely simple: one tablespoon of white vinegar or lemon juice in a measuring cup, milk filled to the 1-cup mark, a quick stir, and ten minutes of patience. That’s the whole method.
What makes it worth understanding more deeply is the reason it works. The acid drop transforms how milk interacts with baking soda, gluten, and casein proteins — producing lift, tenderness, and moisture retention that plain milk simply cannot deliver. Once you understand that mechanism, you can apply it confidently to any recipe that calls for sour milk, buttermilk, or acidified dairy.
From a nutrition standpoint, it adds calcium, B12, and protein to whatever you’re baking without meaningfully altering the macro balance of the recipe. It’s a functional ingredient doing real structural work, not just a flavor addition.
Keep white vinegar in your pantry, and you’ll never need to make a last-minute store run for buttermilk again. The homemade version performs at the same level in the vast majority of recipes — and now you know exactly why.